
The rear axle in my 1963 Chevy Impala SS is a 3 link design: two lower trailing arms, one upper trailing arm(passenger side), and a panhard rod to locate it laterally. But one of the most popular drag race suspension designs is a 4 link setup, which has two upper trailing arms. So I decided to convert my car into a 4 link setup by adding the 4th link. Global West Suspensions makes a kit to do just that, but I’ll have to do some welding. Good thing I’m taking welding classes.
First, prepared the axle by cleaning off the rust in the area where the bracket must be welded:

Then I bought some 5/8″ rod, which fits exactly through the factory bracket, and will align the new bracket in two directions(fore and aft):
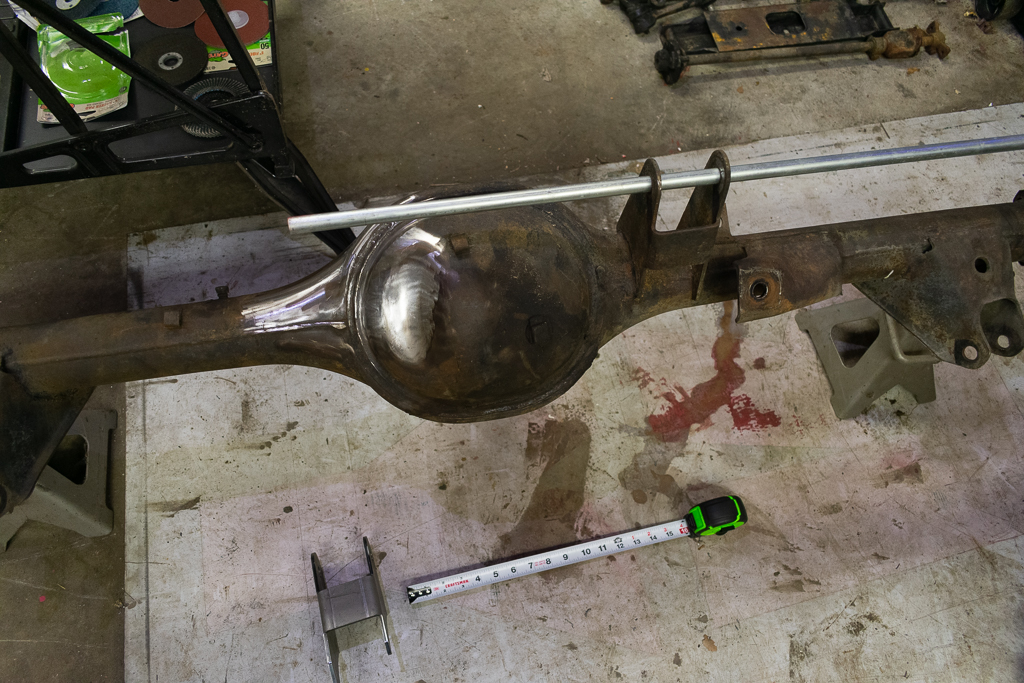
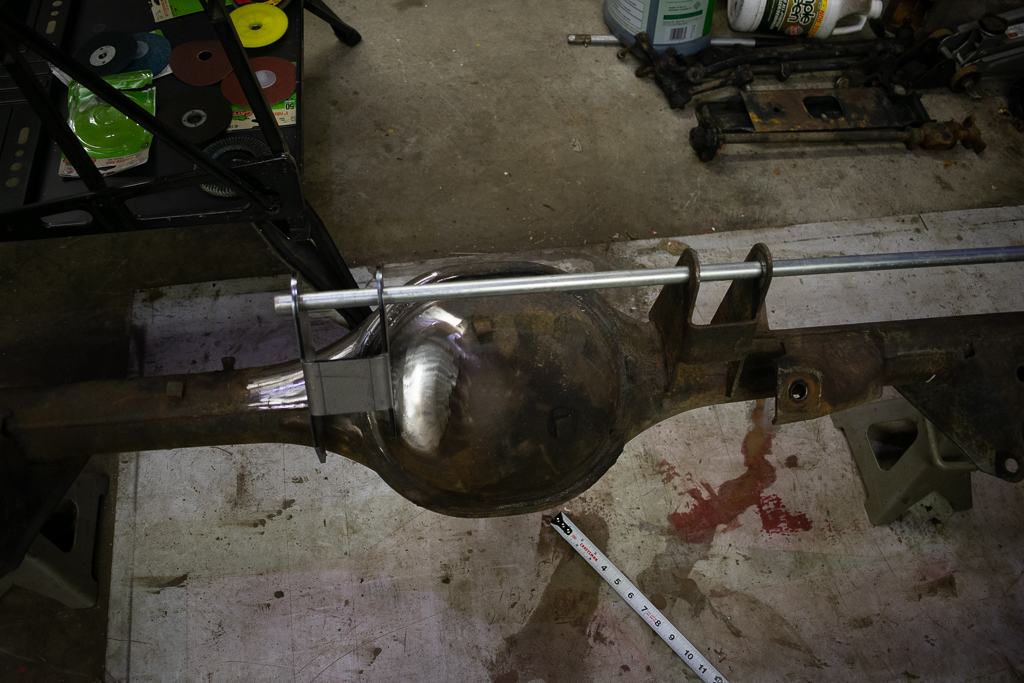
Then, I need to locate the bracket laterally, taking careful measurements so that both brackets are equally spaced around the center of the axle. This resulted in a tricky optical illusion: the driveshaft and axle pinion are centered on the axle, but the ‘pumpkin’ is not. This is because the ring gear must be offset from the pinion. As a result, one flange of the new bracket must be positioned onto the pumpkin itself. This is not the final position, but it’s close. The bracket needs to move to the right about another 1/4″:


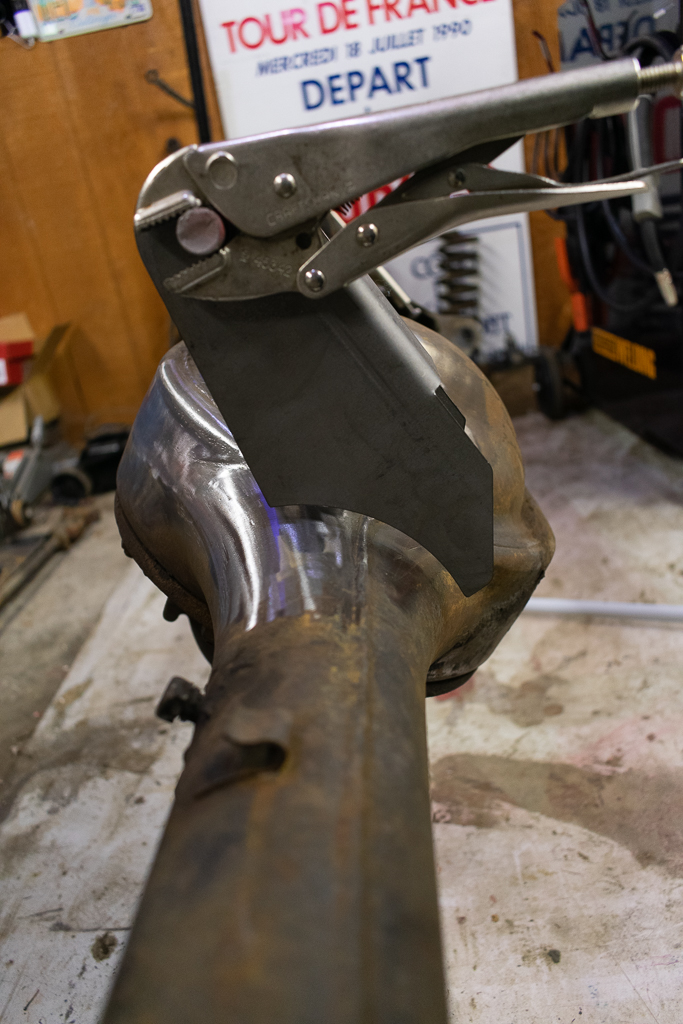
Finally, I will have to grind the bracket to minimize the gap rotationally. I think this will be the hardest part to get right. Afterall, it’s hard to add metal after you remove it, but I do need a tight gap to make a good weld. As you can see, there’s a massive gap without modification, but as I grind the inboard flange to fit the pumpkin, the outboard flange will move closer to the axle tube. Also, looks like I need to remove more rust:
Right now, I’m just getting a feel for the amount of work required, but I have not ground the bracket yet. It will take me a while to do this and be satisfied with it. Hopefully, the next post will show the completed installation.