Today, I began modifications to the frame for air bags. Why? Because I love the look of a low rider, but I did not want to butcher up the car for hydraulics. I never had any intentions of hopping the car, and low rider hydraulics make for both a heavy car and a very rough ride. Air bags allow me to drive normally(and comfortably), allow to me drop the car when I park it, and allow me to adjust ride height when the car is loaded with cargo or passengers. Modifications to the frame are nearly invisible, and still allow me to revert to the original suspension should the need or desire arise. I chose RideTech for the components.
The rear bags require drilling a pilot hole in the spring pocket, but since the pocket was oddly shaped, I need to use a protractor and some 9th grade geometry to find the exact center…
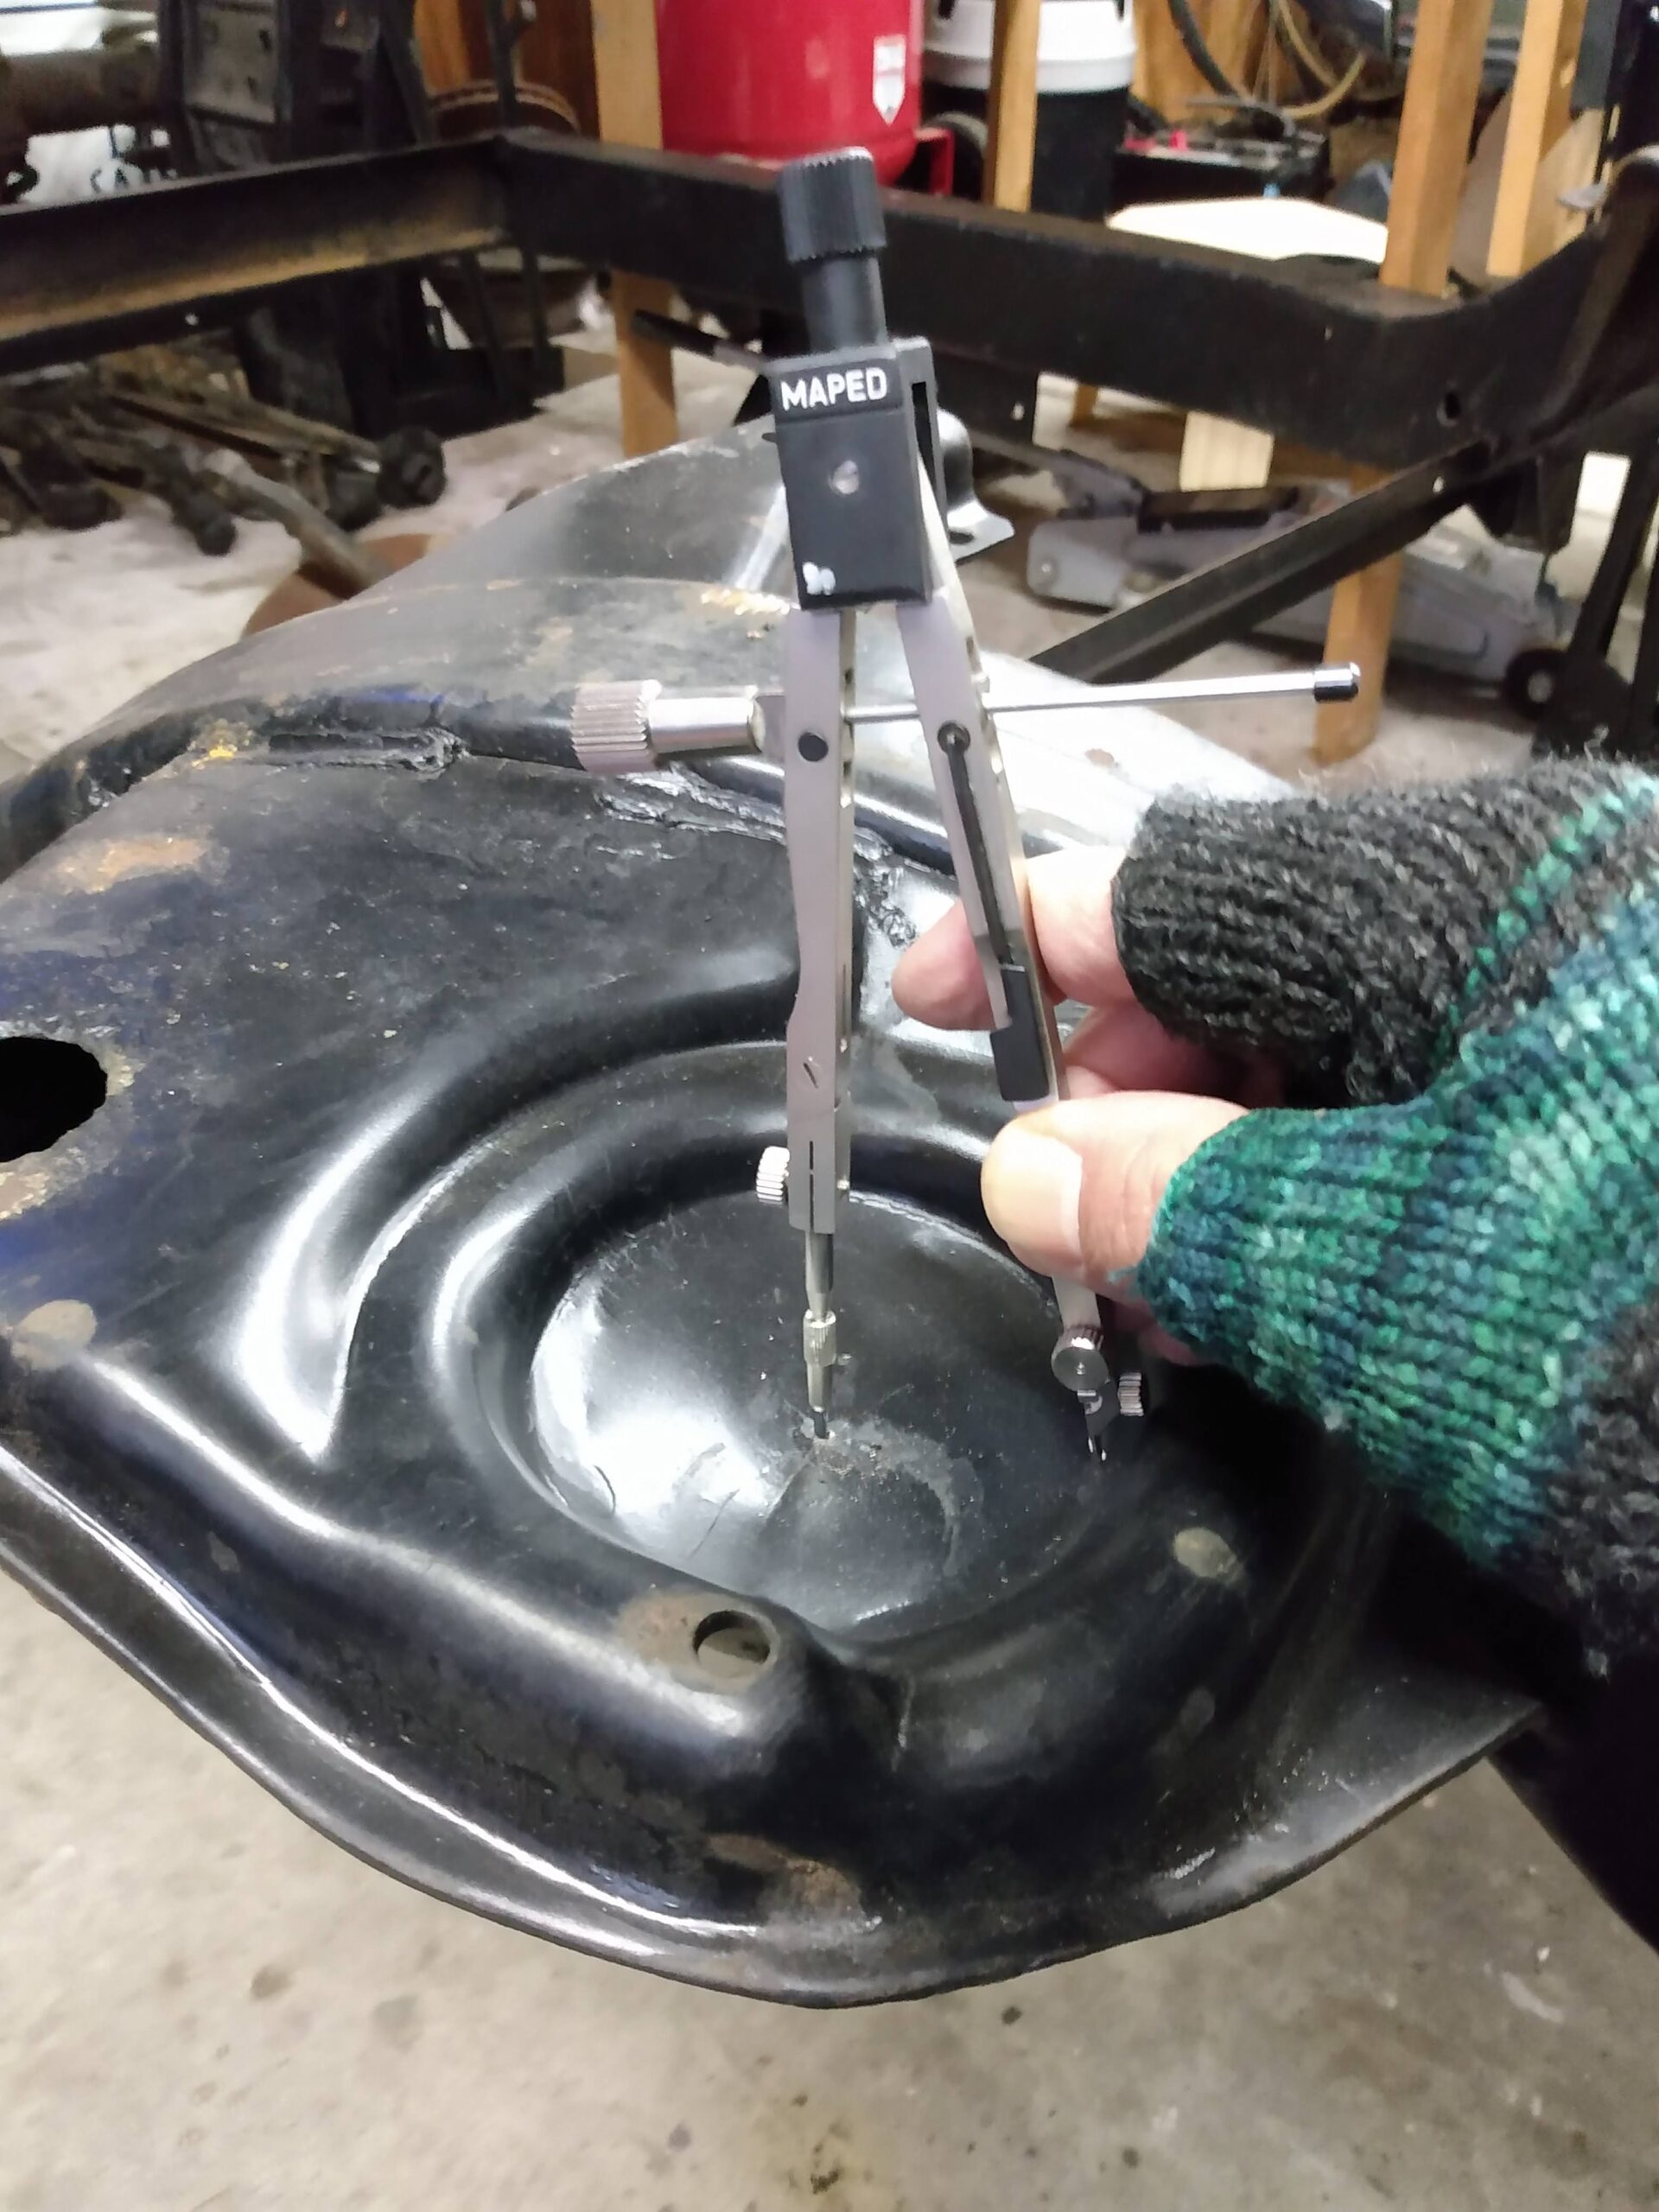
…which I used to make the pilot hole…
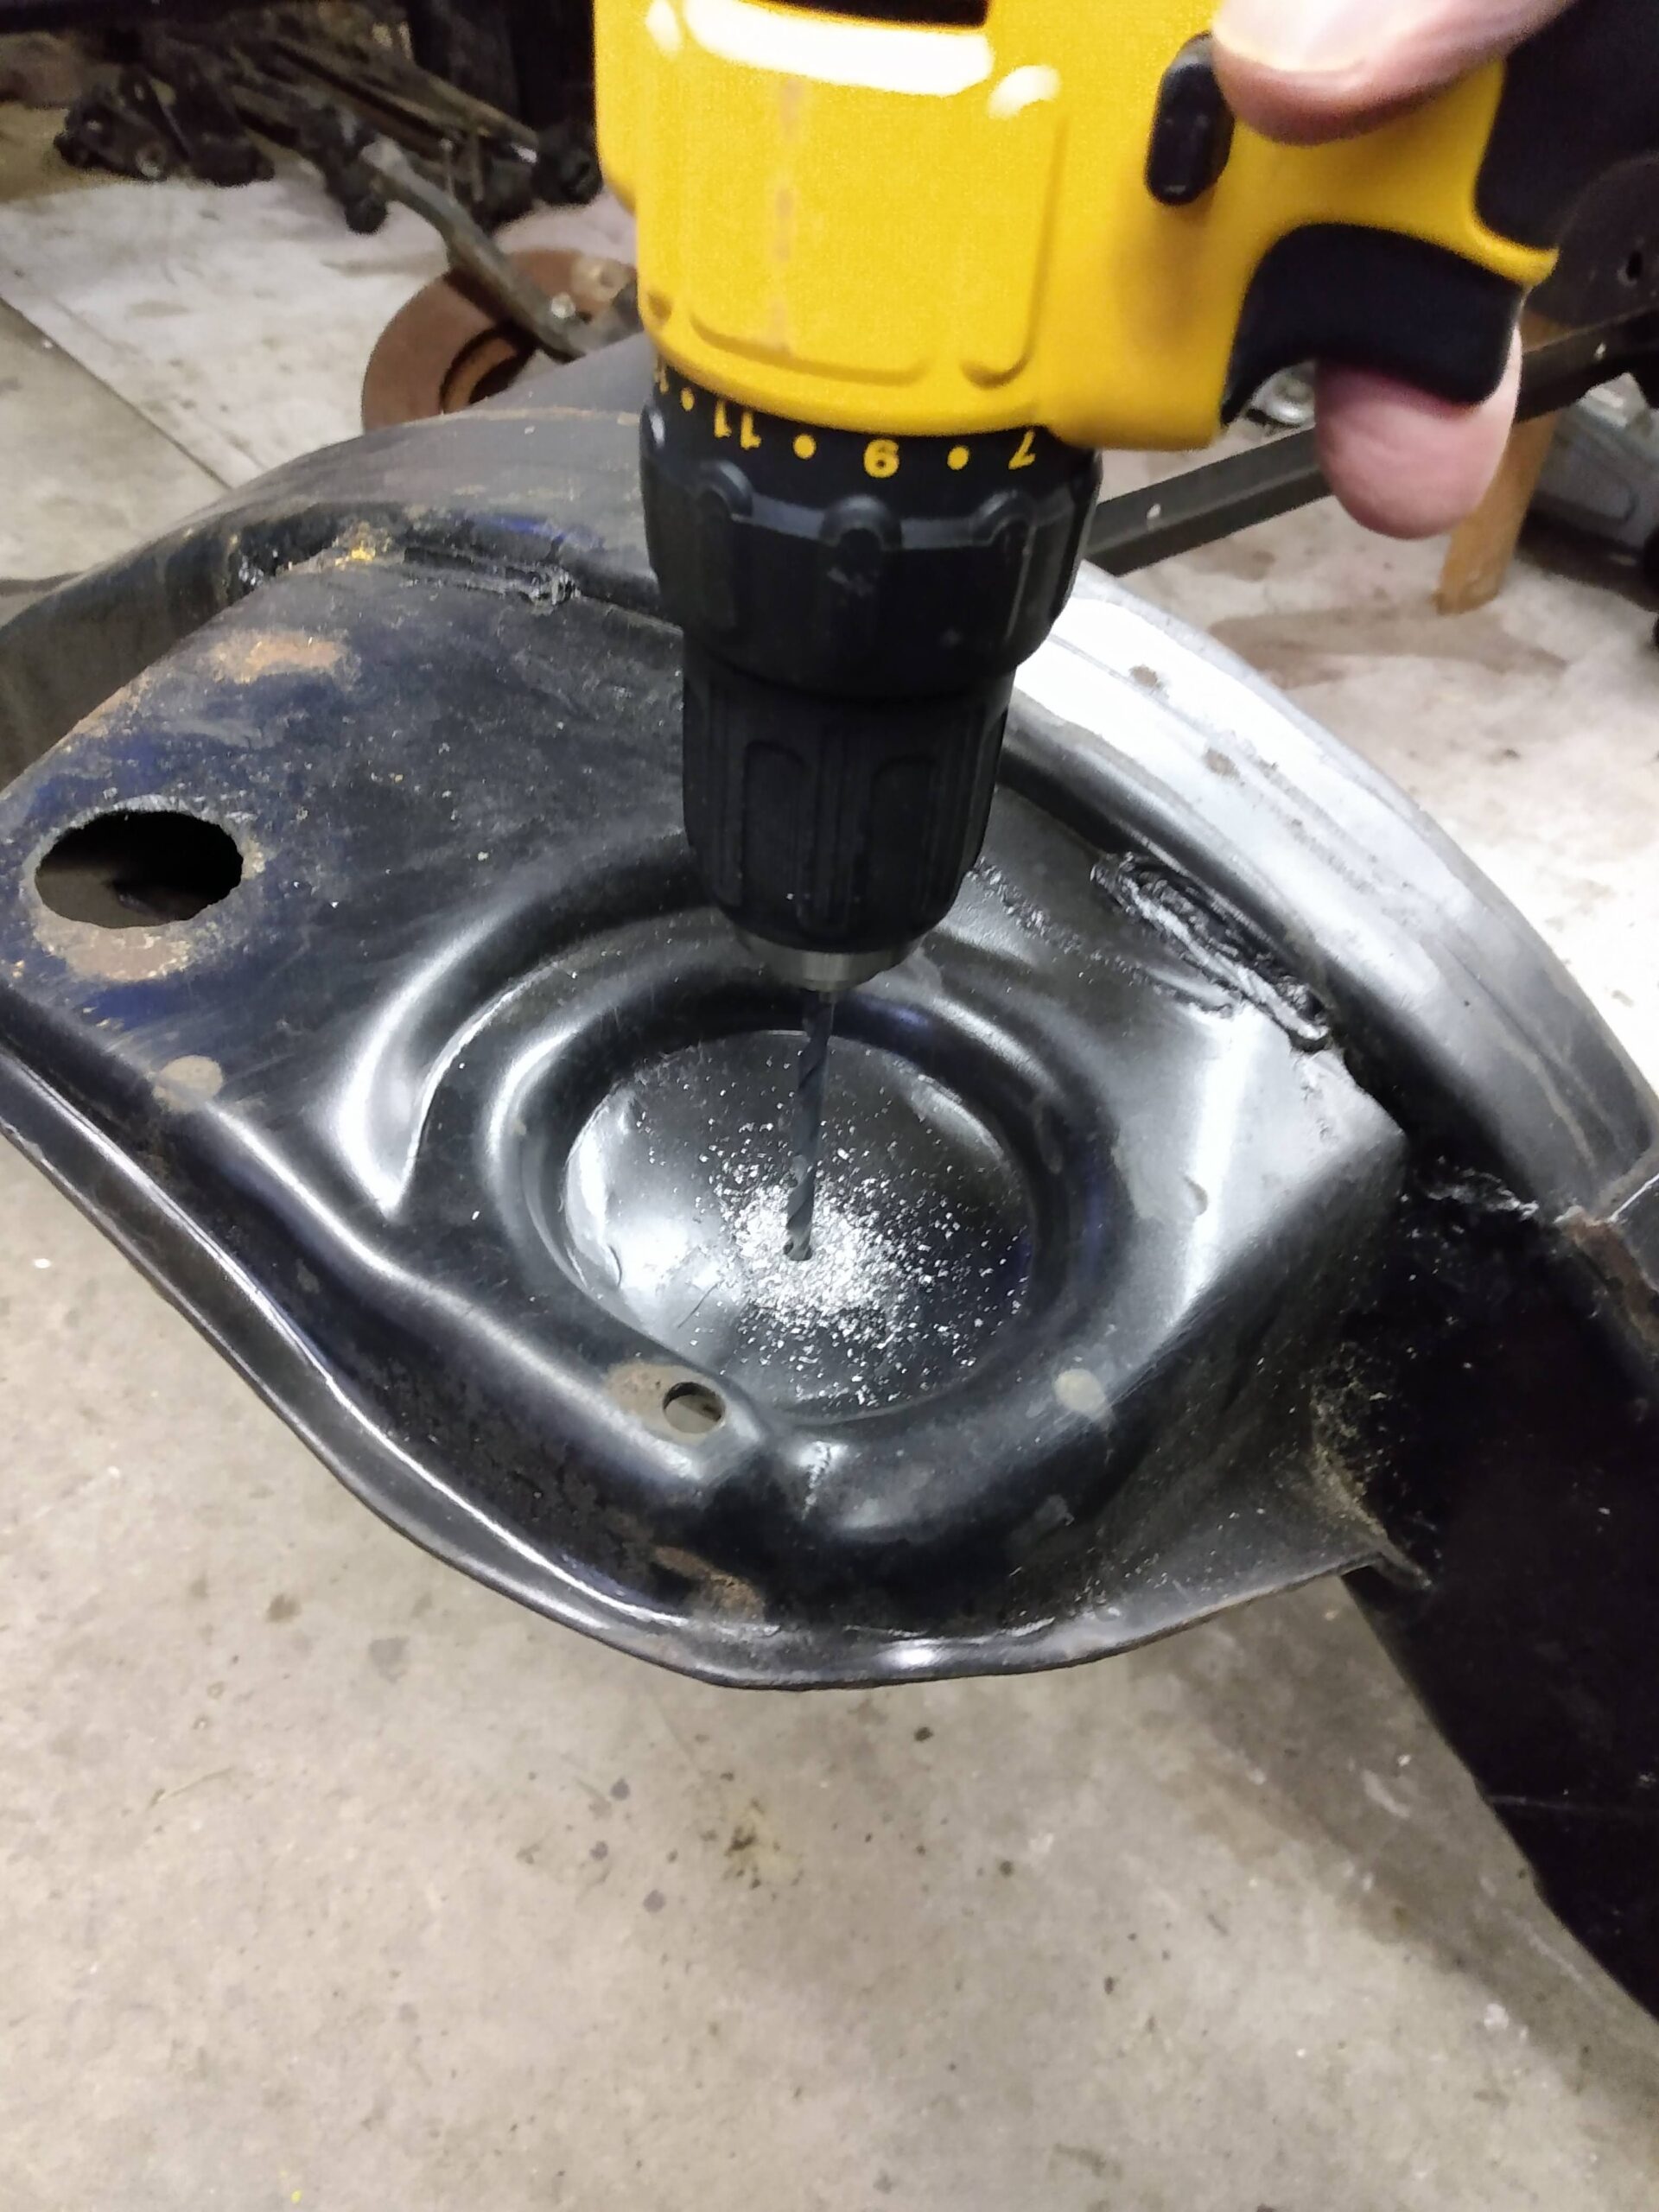
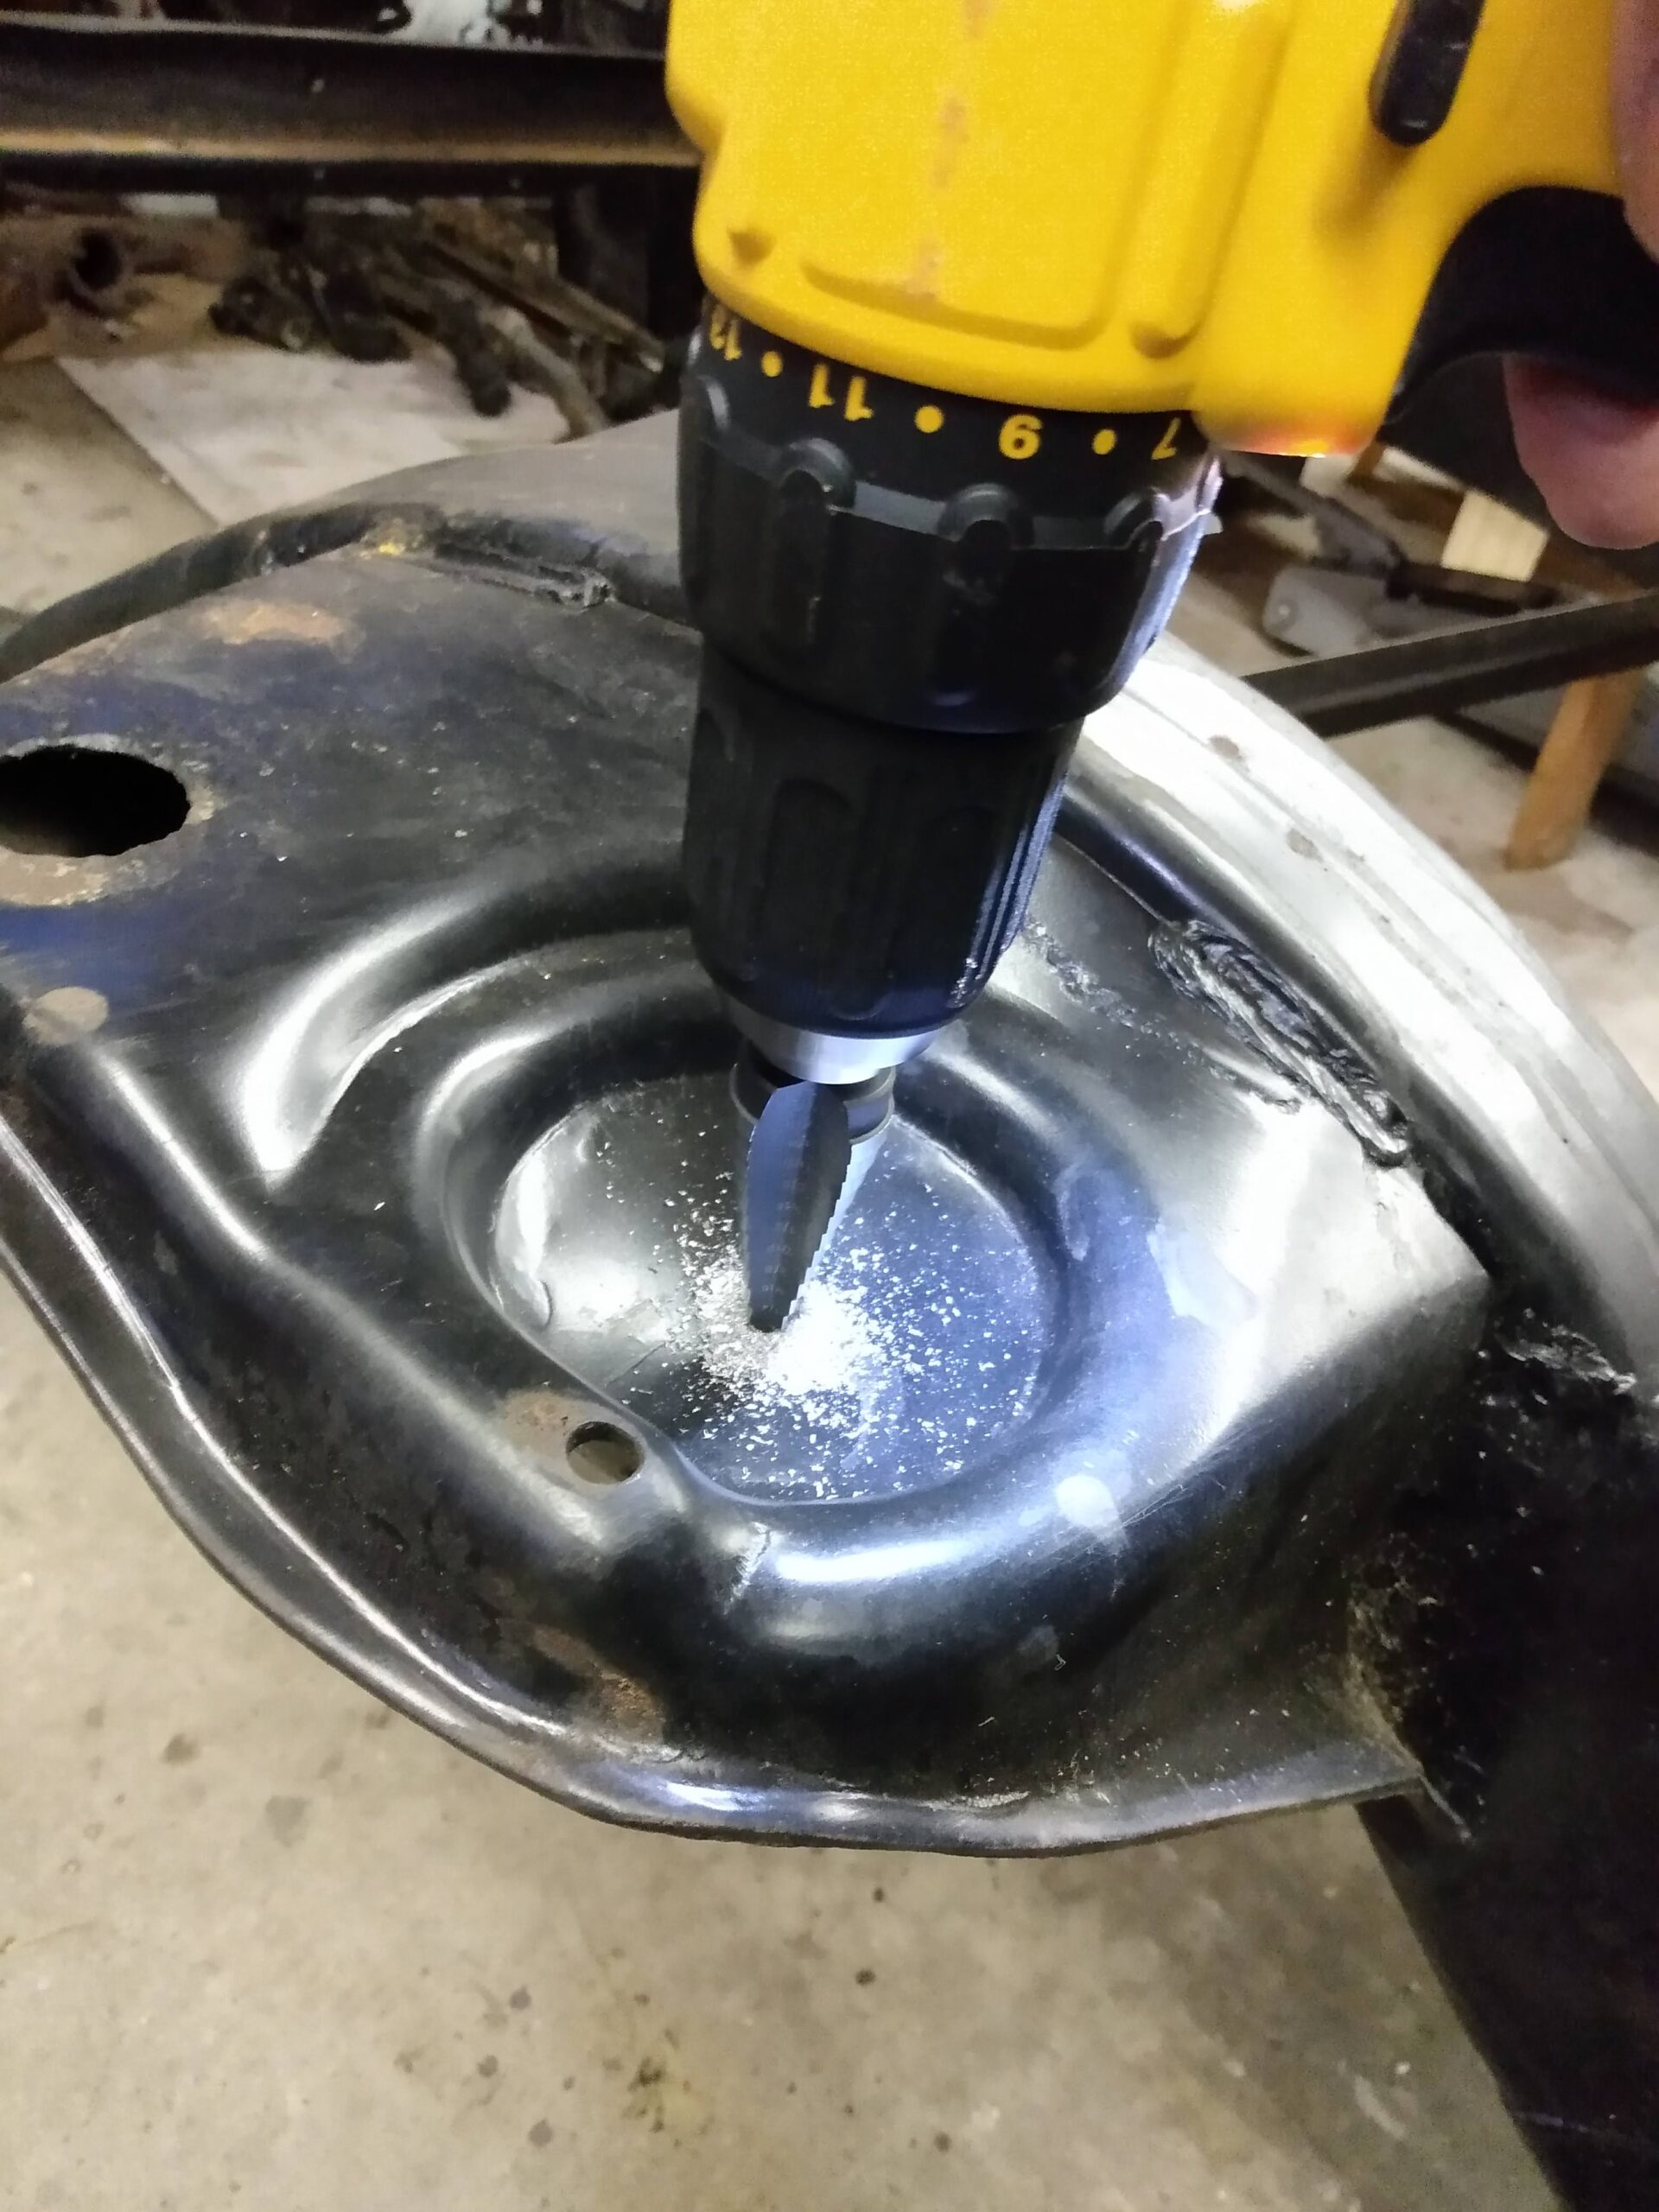
…which I could then enlarge using a Unibit:
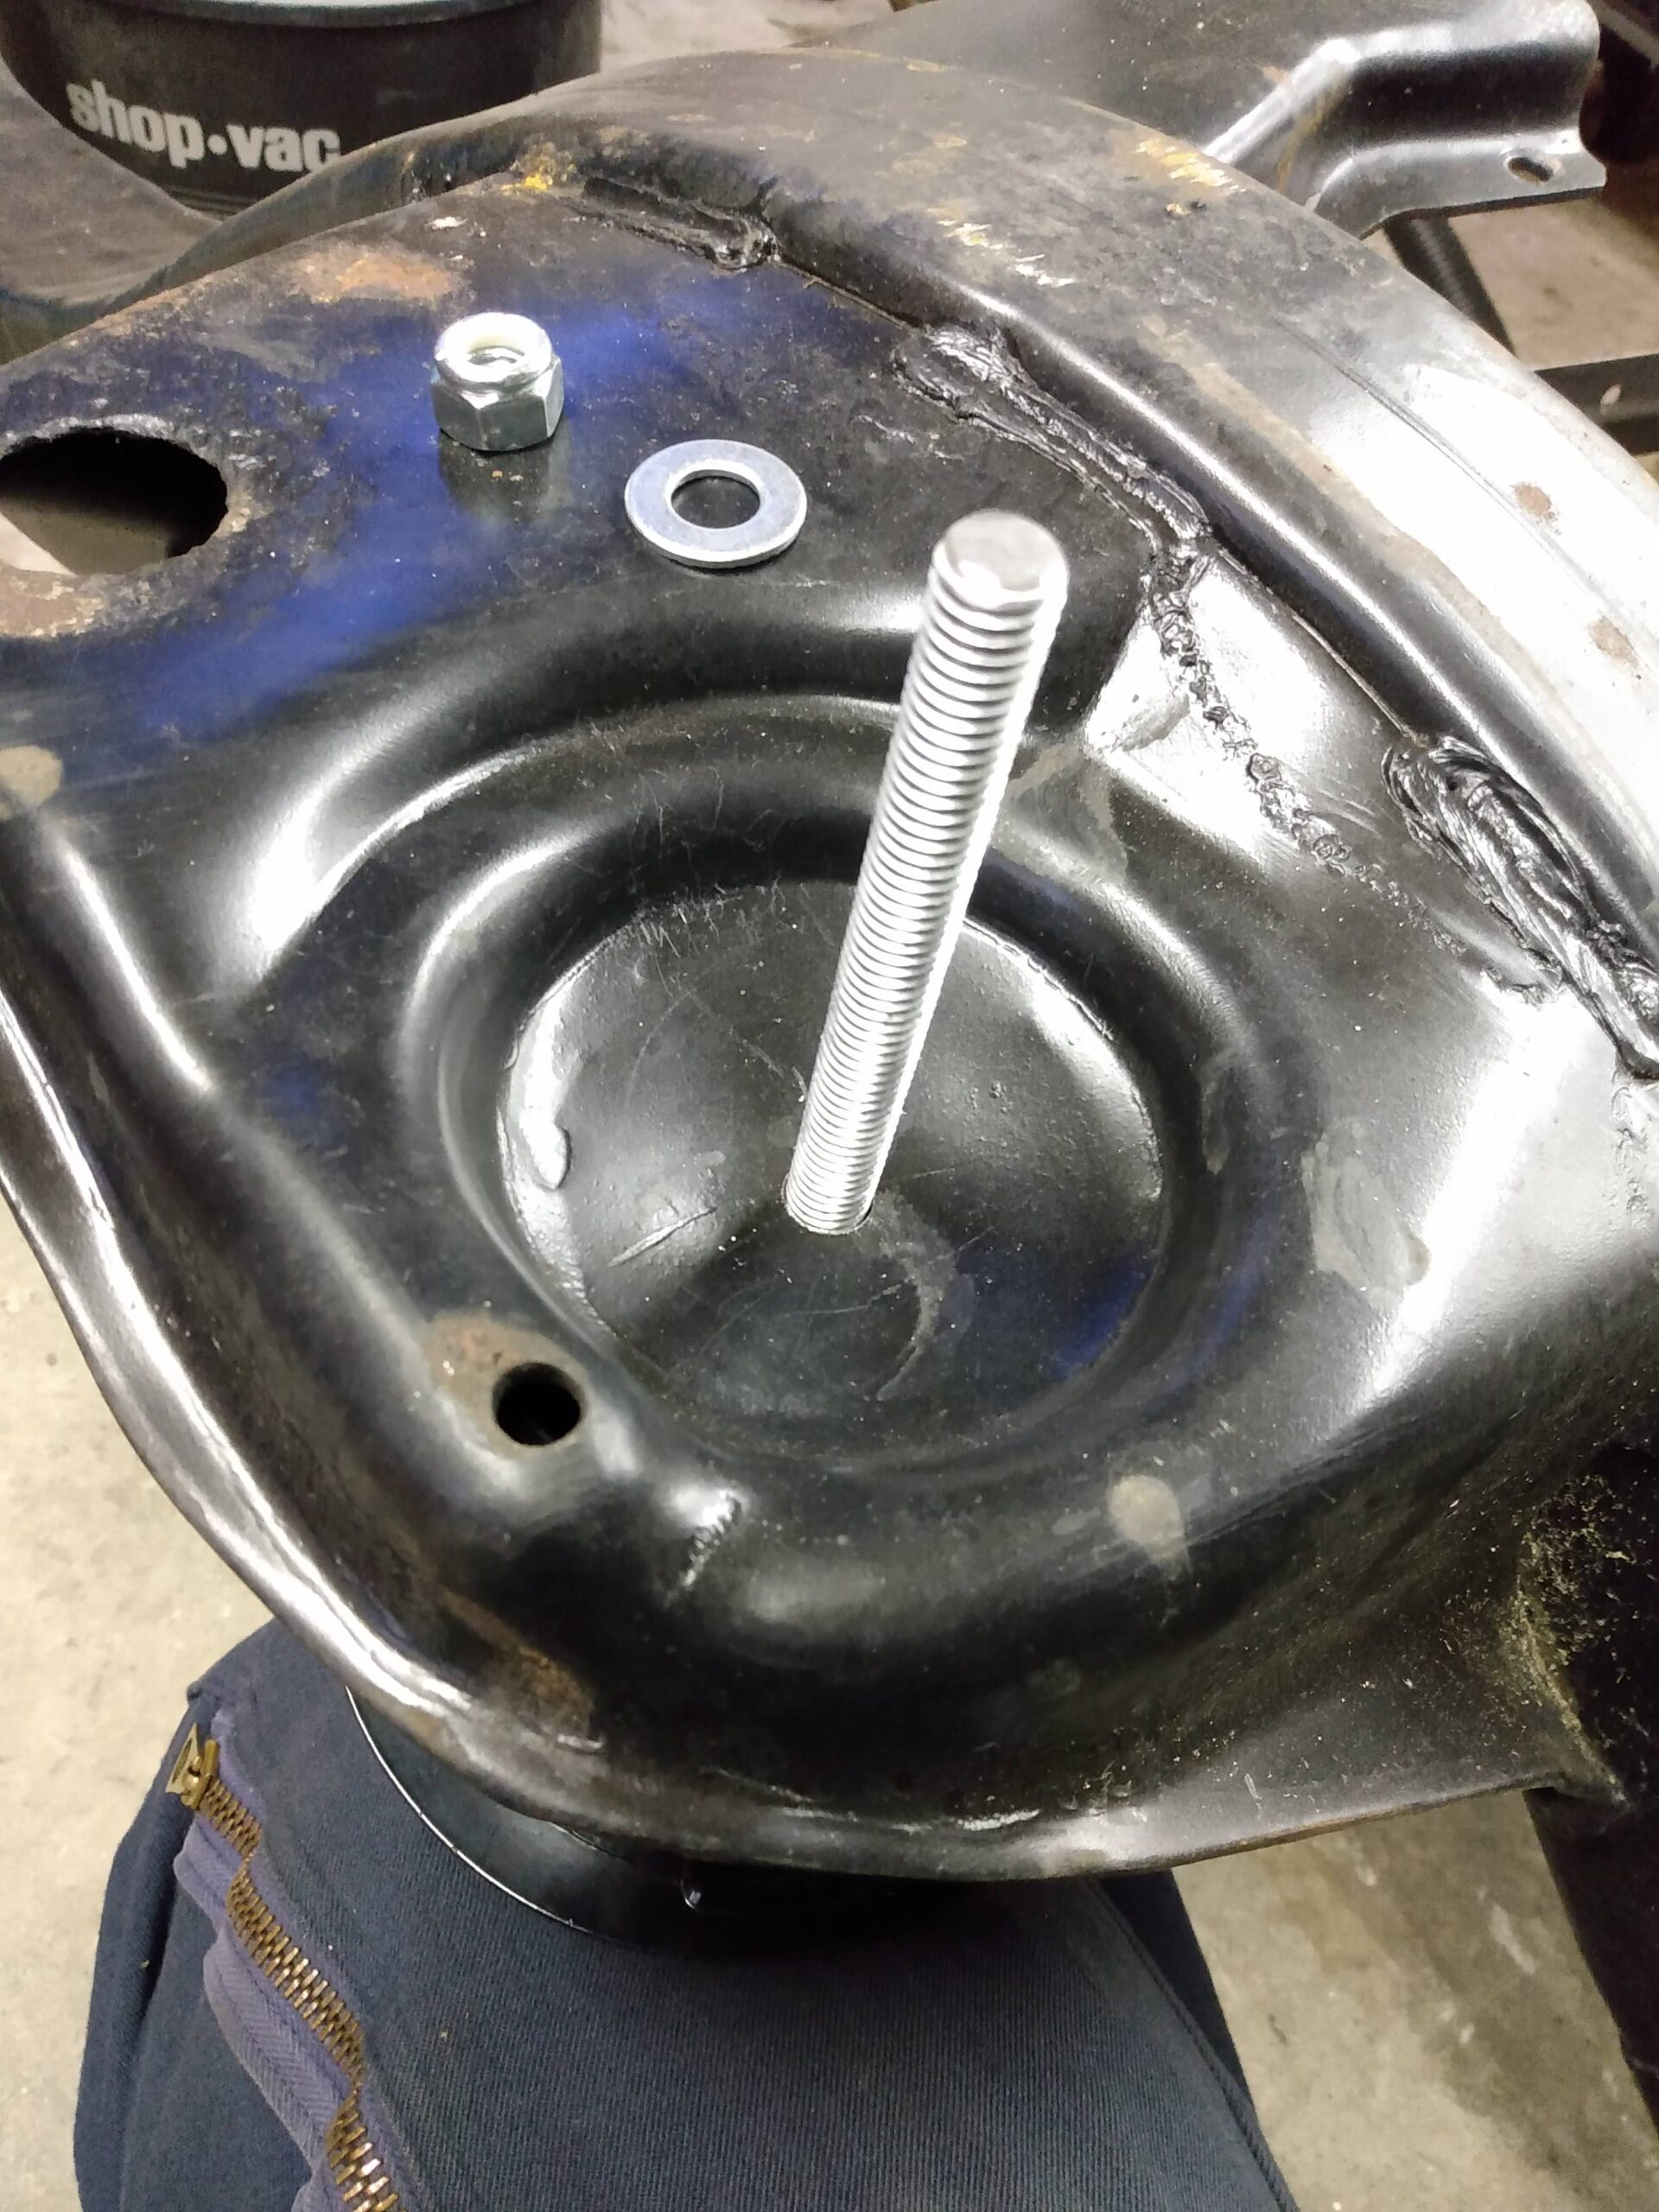
Now I could fit the stud for the upper cup of the air bag into the pocket. In this image, I have not used the nylock nut and washer, since I need to cut the stud down to correct length:
I then temporarily mocked up the remaining pieces, sans axle, to see what kind of range of motion I have, from binding in maximum compression(without the axle, I don’t yet know where the bump stop would strike the frame) to the moment all loads are removed. Frankly, I don’t like how the pieces move around; this design does not use the tabs that locate the pieces in the frame so they don’t twist, and I may have to update some components:
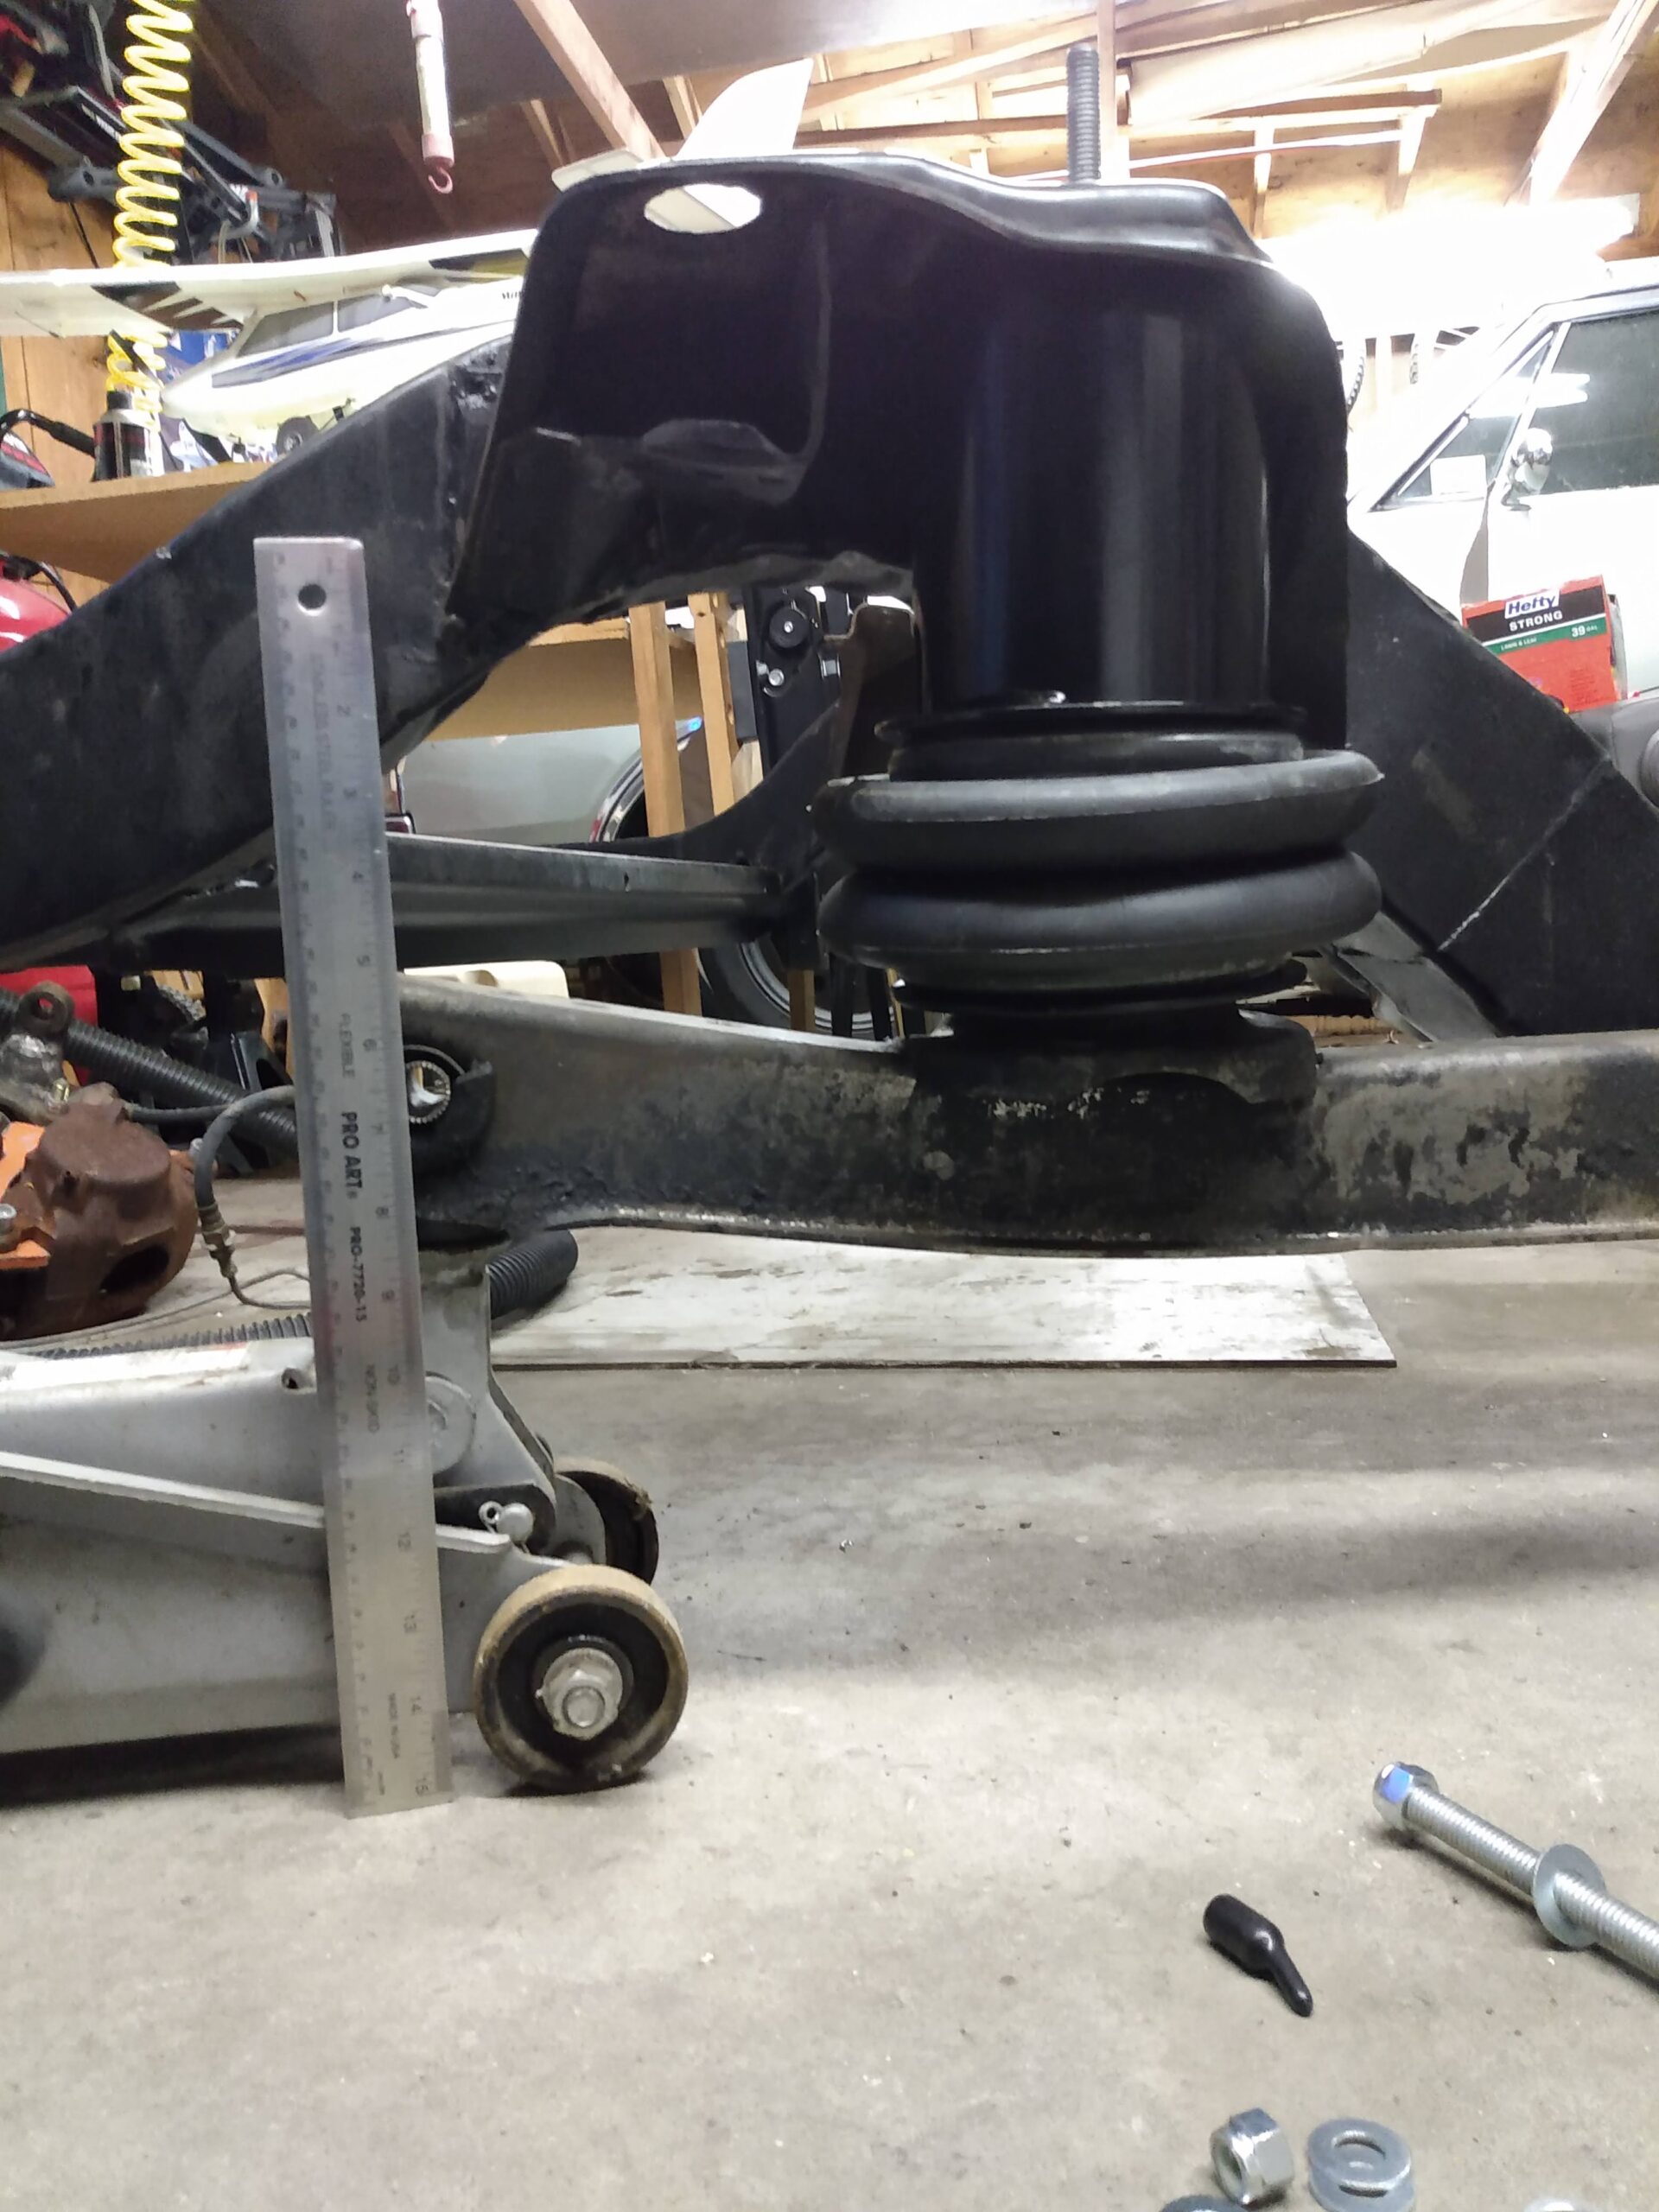
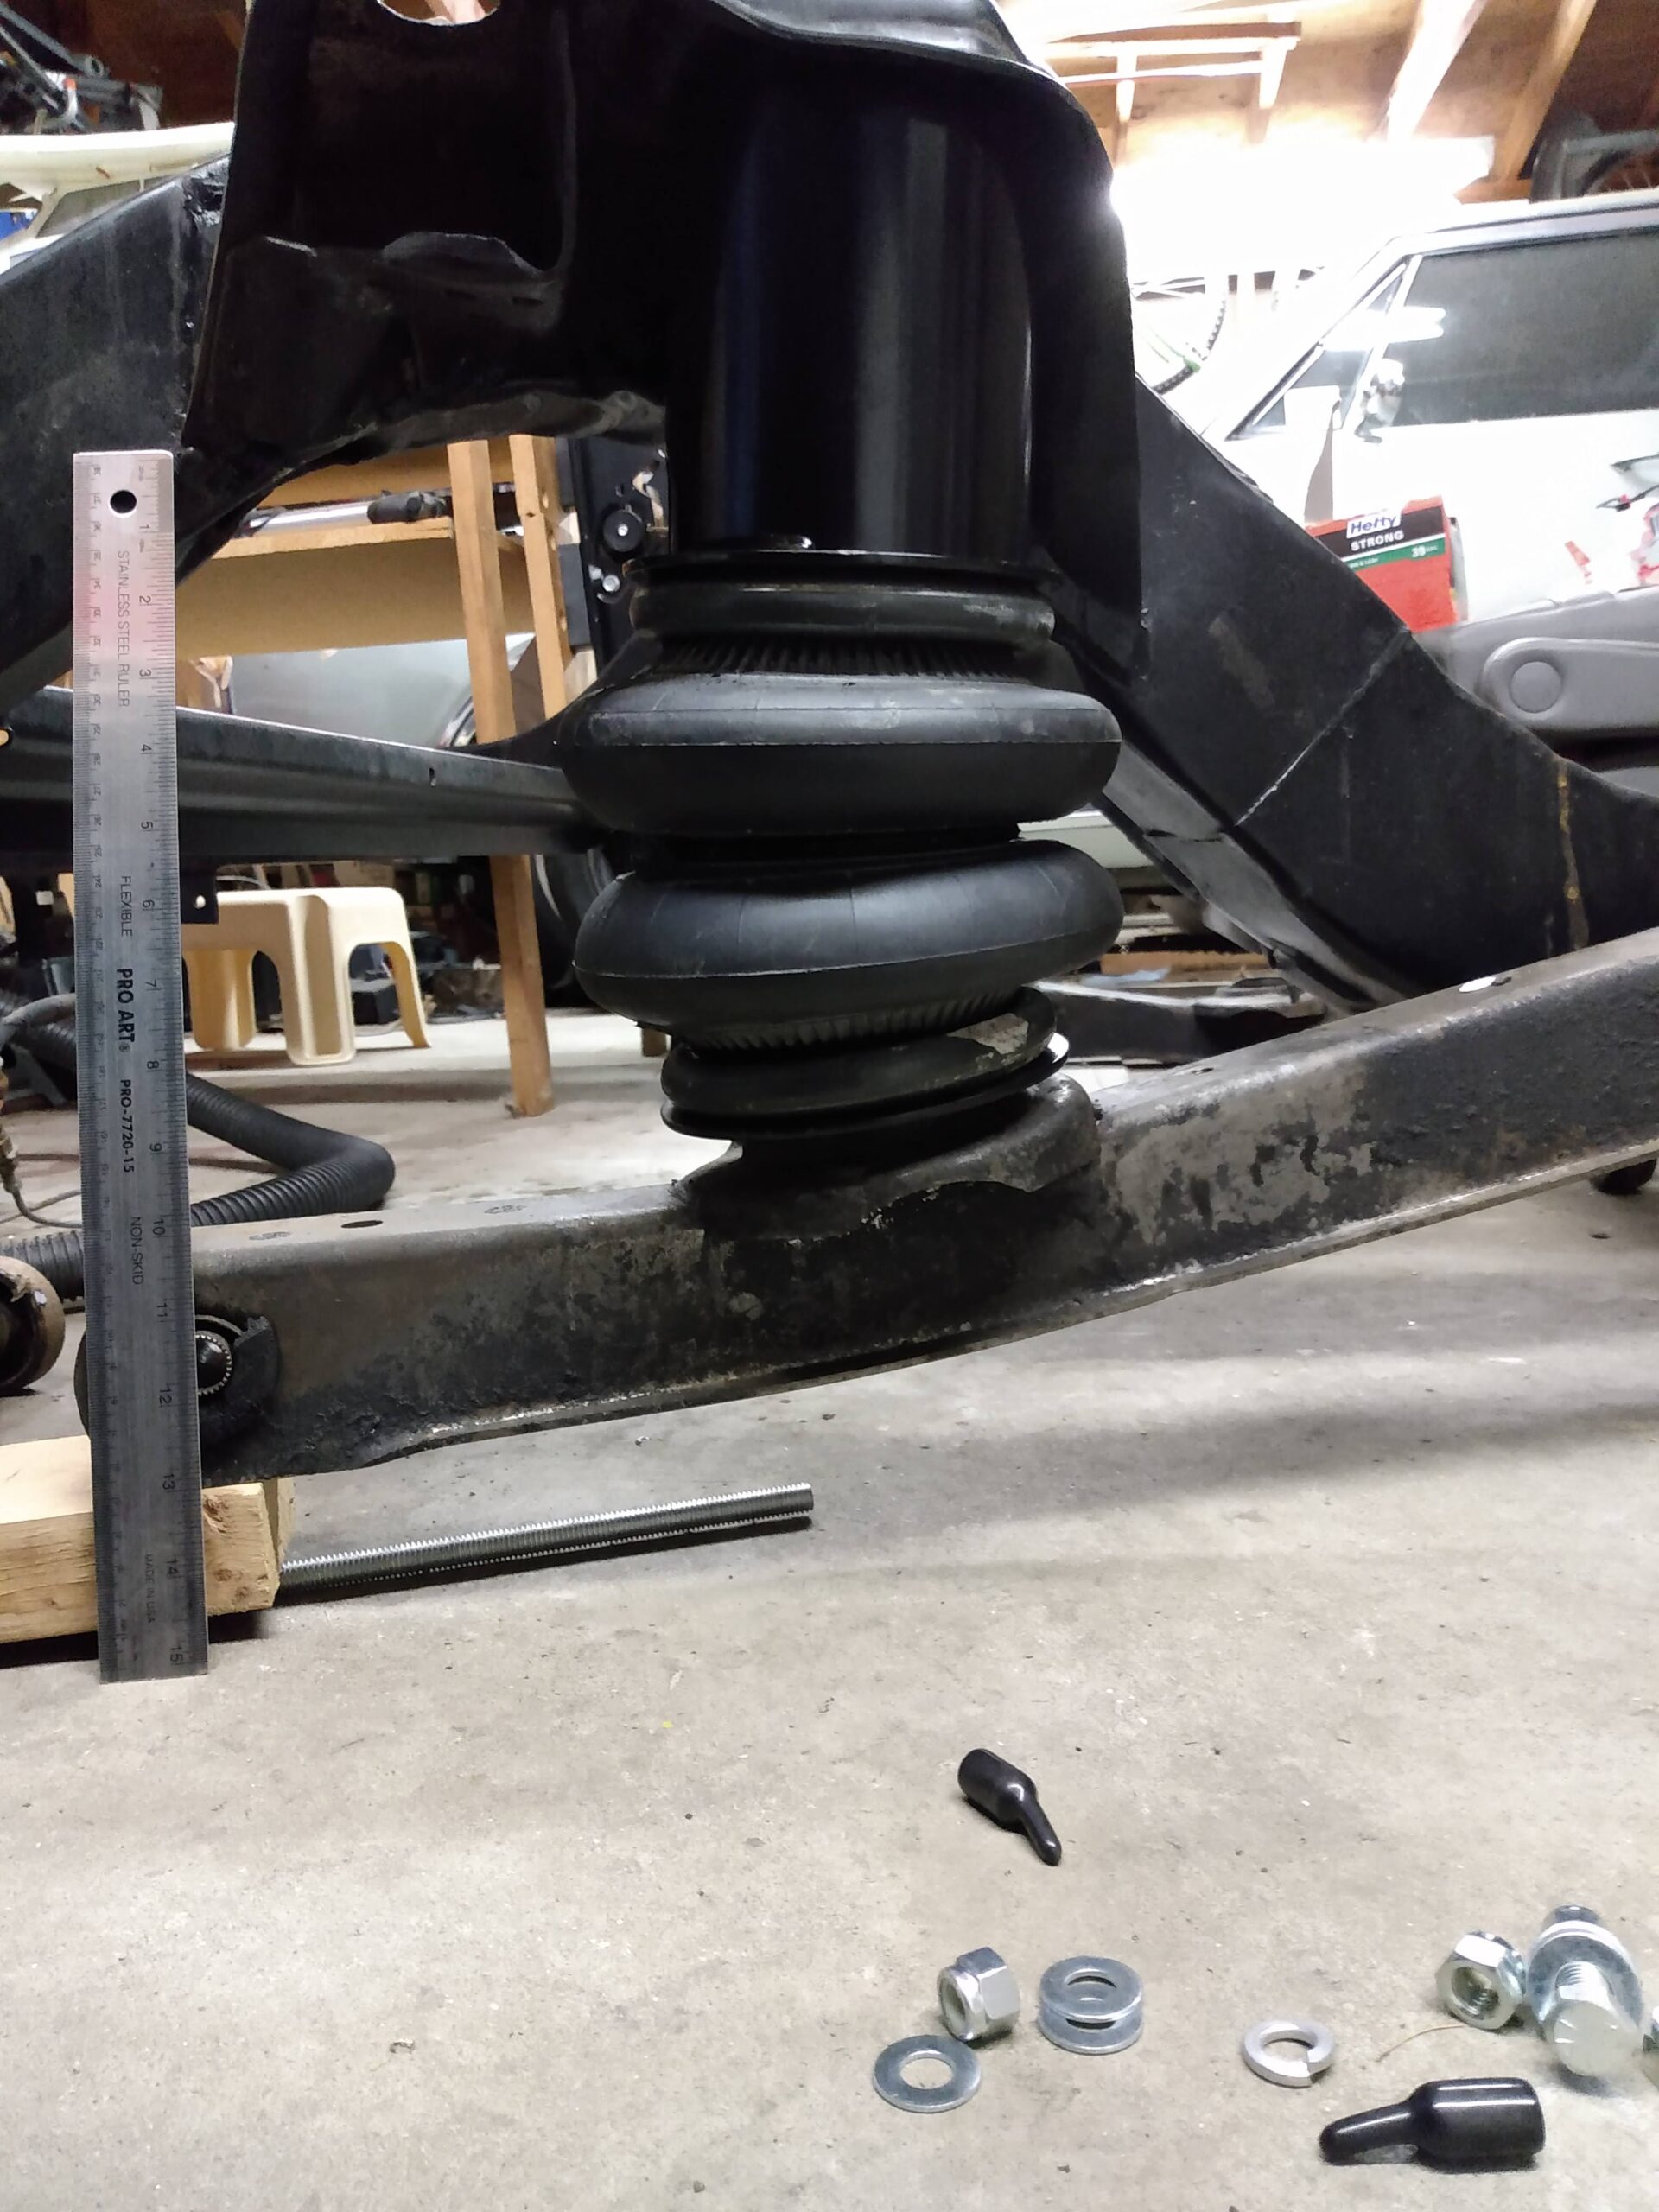
The total travel is approximately 5″, but it will be less when the axle and bump stop is removed. I could mock up the axle, but I think I will wait until I’ve rebuilt and painted it first. We’ll see…
A nice air ride you will enjoy rolling down the road in that 63.