Tonight, I will update you on the front air bags installation. These are different from the rear bags because of the design of the front suspension. Like most cars with double A-arm front suspension, the original shock was installed inside the coil. The air bag equivalent from Ridetech is called a ShockWave. The Fox shock is encased in the annular double chamber air bag. You can also see the fitting for the air line:

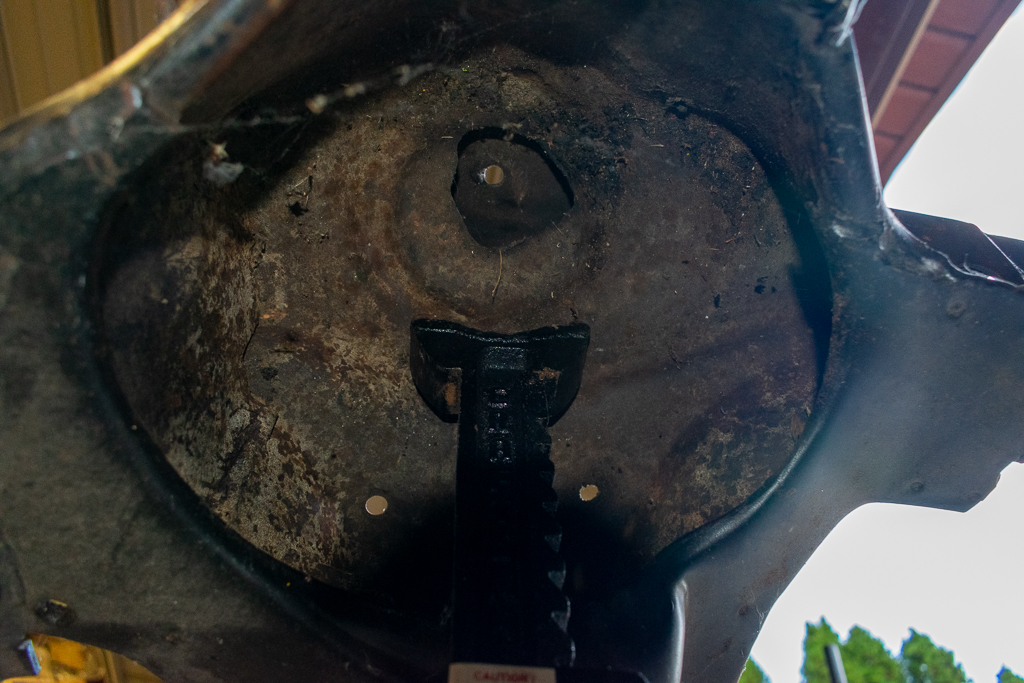
It’s designed to fit into the stock frame and A-arms, but does require some clearance work. For starters, the top of the ShockWave is quite a bit thicker than the original shock, so the stock hole in the frame had to be widened to 7/16″ to clear not only the black adjustable rebound knob, but also to accept the gray grommets in the picture. In addition, the aluminum guard near the grommets is larger than the original shock, so notch the spring pocket has to be enlarged as well. This is the frame before any modifications(this photo was taken with the frame upright):
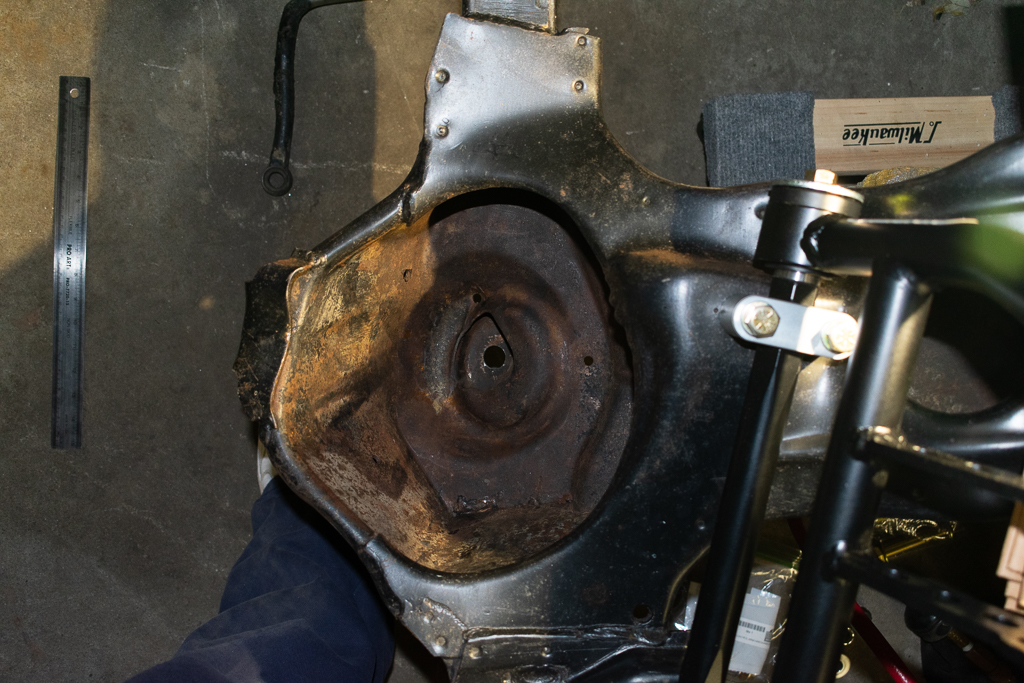
To make the revisions, I turned the frame upside down. Here is the passenger side pocket(upside down this time) after enlarging the hole, but before enlarging the notch:
Here’s the driver’s side pocket, with the grommet installed in the enlarged hole, and after some grinding to enlarge the notch. You can see chalk marks I’ve made to guide the grinding work:
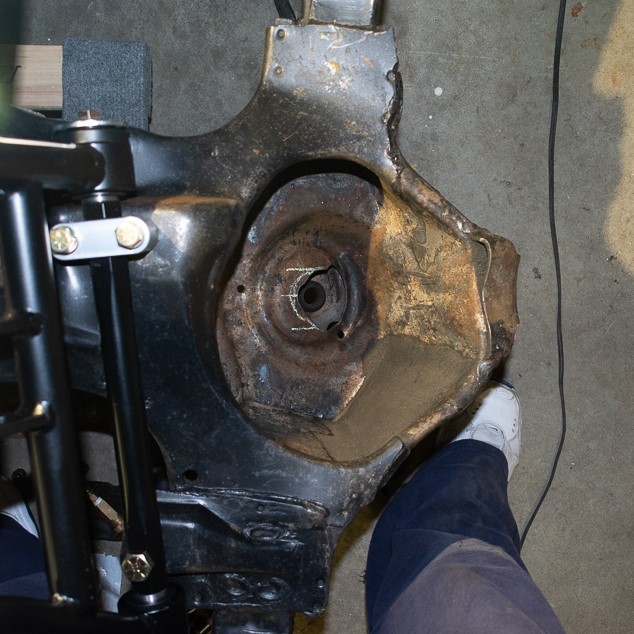
Funny thing I noticed is that the notch is not symmetric from driver to passenger side. It is in fact the same piece of sheet metal, just rotated and used the other side. This meant I had to grind each side differently, in order to achieve symmetrical results. Pro Tip: Carbide Burrs are awesome for this sort of work. Cuts steel like, well, not like butter, but more like bread. I had to be careful not to grind too much away.
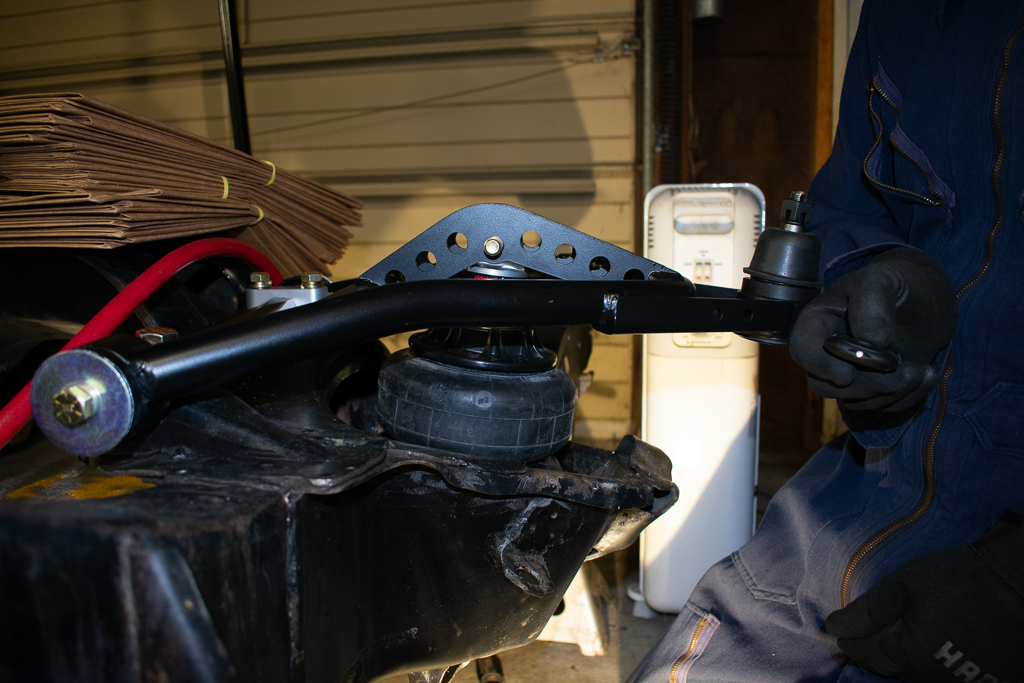
How much to grind? I mocked up the ShockWaves by temporarily installing the Strong Arm tubular A-arms, locating the ShockWave in normal position, then moving it inboard until it contacted the newly ground frame. Check it, remove, grind, check, remove, grind…
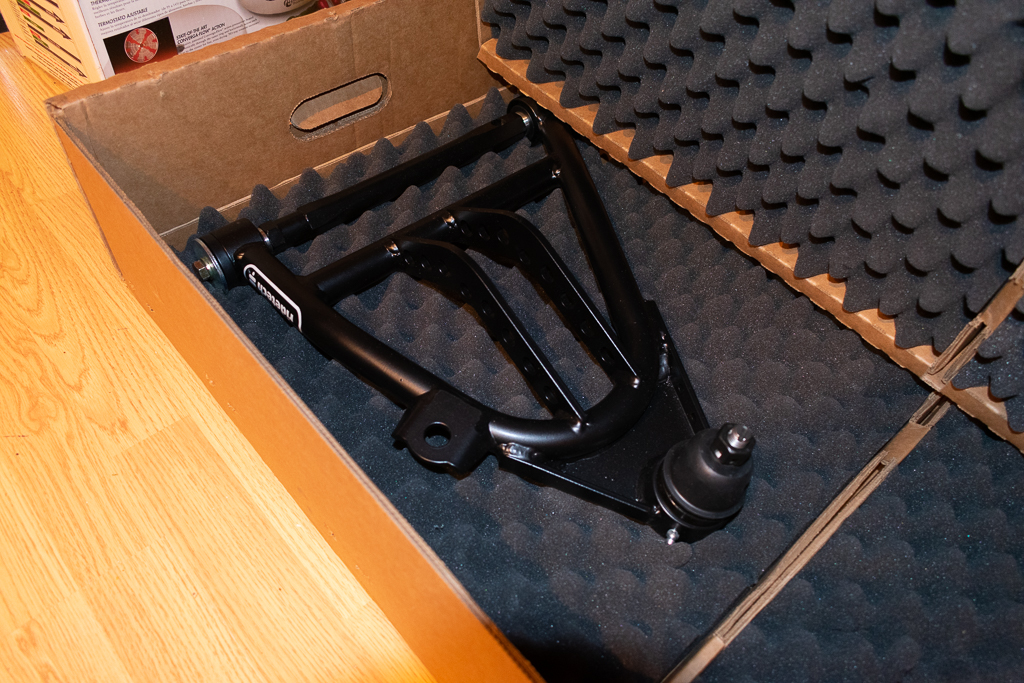
Here’s the lower Strong Arms, still in the box:
Here is the mock-up, in installed position:
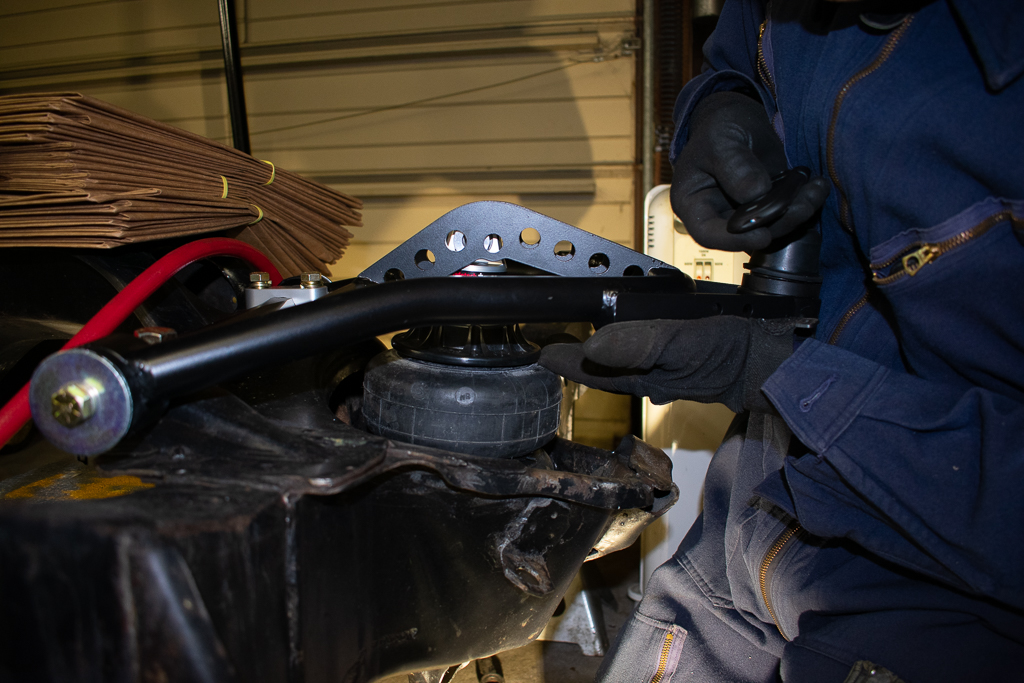
And here it is ‘misinstalled’ in contact position, showing how much movement is required(about 1″) before it will contact the frame:
What’s next? Lots of things, I just have to decide and then get to it. It sure would help if it wasn’t do damn cold outside. Stay tuned…
👍
My dad would be proud to see your progress with your 63 primo. The hours we spent with him holding the light fetching his tools stays with me forever.
Maybe some space heaters? Lol